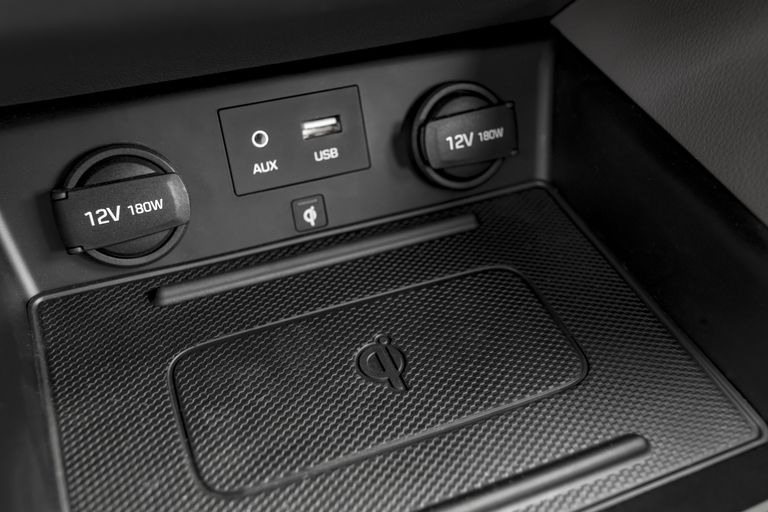
I written before about how automakers are removing cd players from the in-dash entertainment systems of new vehicles. They're doing this for two reasons: first, anytime you can remove a component in a vehicle you save money. Many people tell you they don't use the CD player in their vehicle so manufacturers can remove them and inconvenience a small amount of people. Second, cd players take up space in your dashboard. New infotainment systems that do elaborate things like GPS navigation and phone projection systems like Apple CarPlay and Android Auto take up a fair amount of space.
So those are the basic reasons why CD players are going away; to save money and space. But for those of us who do enjoy our CD player in our vehicles, this is more than a little inconvenience. It makes it difficult to access the library of music we've built on CD, as well as listening to audiobooks we either purchase or borrow from the public library.
In my previous post I mentioned there were three ways to deal with not having an in-dash CD player. You can either hook up a Walkman style CD player and play the music from the auxiliary port, you can have an aftermarket CD player installed from our vehicle accessory shop, or you can convert your music to a digital format and play it in your vehicle using a USB flash drive. In this post I'd like to focus on the specifics of how to convert your music to digital files for you so the USB flash drive in your vehicle.
Step 1: You'll need a computer. Either a laptop or a desktop computer with a CD ROM drive should do the trick. Even some newer laptops are sold now without CD ROM drives, so make sure your computer has one.
Step 2: You'll need some software. Using a program like iTunes, Windows media player, or a free CD ripping tool from online will be how you convert music from your CDs to a digital format your car can play.
Step 3: Check the specific details for your vehicle's infotainment system in your owners manual. All vehicles have their specific limitations and restrictions when it comes to playing digital music from a USB flash drive. It is a very good idea to check your cars owners manual to see what file format are acceptable, what size USB device can be used, and how the vehicle wants these files organized on the drive.
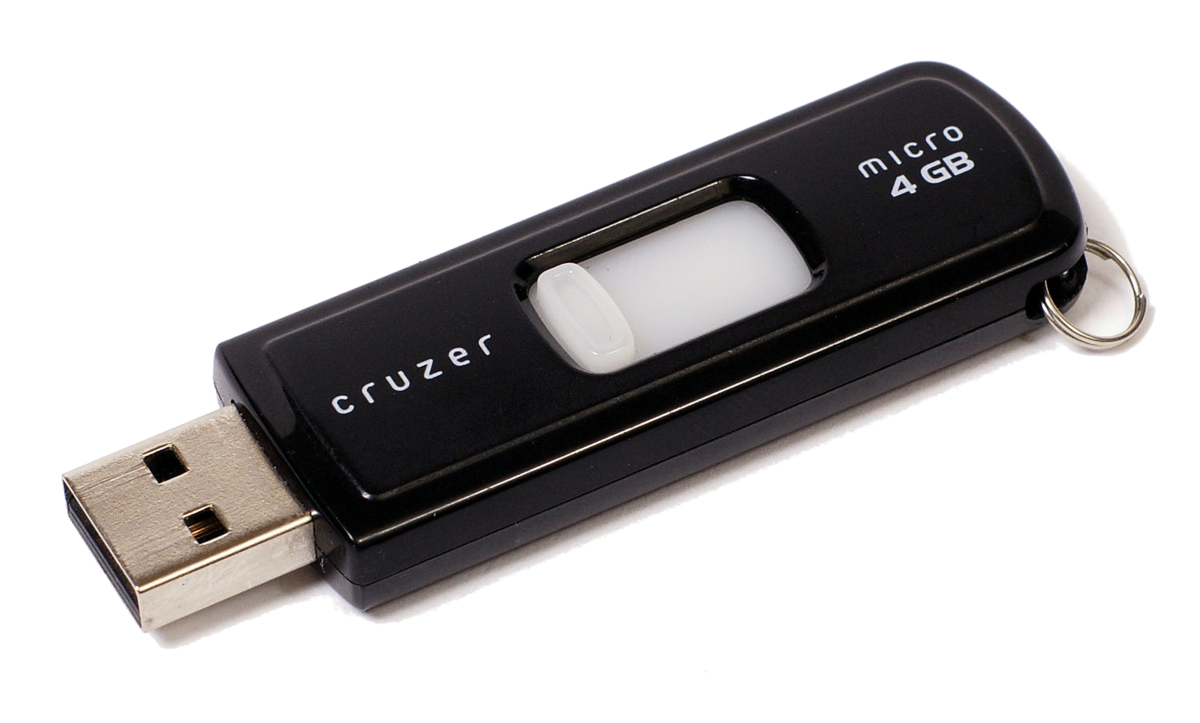
 Step 4: Purchase the appropriately sized USB flash drive. Like almost all technology the price of USB flash drives has plummeted in recent years. So that used to cost over $100 now costs just a fraction of that. If you're looking for a 16 GB or 32 GB flash drive, you can get them at any department store for less than $20.
Step 5: Check your software's exporting settings. What you want to be sure of at this point is what format your music will be converted to, and where this music will be stored on your computer once that happens. Make sure your music is being converted to a form at your car can read (MP3 is usually best) and make sure the music is going to a folder on your computer you can easily locate.
Step 6: Rip your music. The process of converting music from audio CDs to digital files is called "ripping". It doesn't do any harm to your CDs, it's simply allows you to make a digital copy of what's already available to you. Each CD should take between five and 10 minutes to rip. You put in a CD, start the ripping process, and wait for the program to tell you it's completed. Repeat this step with all your CDs until they've all been converted. This part of the process is the most tedious but once all of your music has been converted you shouldn't ever have to do it again.
Step 7: Find the newly ripped music files and transfer them to your new USB flash drive. Plug in your USB flash drive then Open the folder that has your digital music in it. Highlight all of it and drag it to your USB flash drive on screen. Windows users can just highlight the files, right click, and choose "send to..." USB drive.
Step 8: Try it out and enjoy. Once your computer has finished moving all of your audio files to your USB flash drive, you can unplug it from your computer and take it out to your vehicle and plug it into USB drive there. From here your vehicles infotainment system should be able to play the audio on the flash drive and even organize it for you based on album name, artist name, song name, and many other criteria.
I know this seems like a lot of steps to replace one taken for granted piece of technology like the CD player. But a flash drive can store dozens if not hundreds of albums, and brings its own level of convenience. Just like any other new technology the hardest part is getting used to it. I've helped many people convert their music from CDs to a digital format before, and many of them have told me after-the-fact that they like playing music from there USB flash drives better than keeping a book of CDs in their car at all times. The best part is once you've converted your music this way, you can take this flash drive from your current vehicle and move it to your next one with no muss or fuss.
I hope this detailed tutorial has helped. If anyone has specific nitty-gritty questions, feel free to reach out and I'll help in anyway I can.
